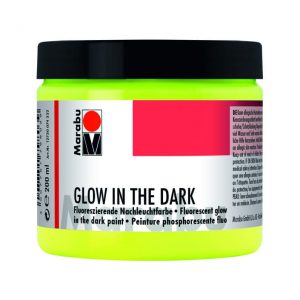


Marabu Basic Acrylic Color 500 ml
For purists: Window Color directly on canvas
Beautiful glossy transparent effects can be achieved by applying Window Color directly to a canvas with a white base coat, using a brush or an art knife. This painting technique draws its attraction from the contrast of thicker and thinner paint application – particularly suitable for abstract designs! On the issue of designs: If your chosen design includes circle, wave or line patterns, great results can easily be achieved by using a toothed trowel or a comb.High-gloss effects for acrylic paintings
Make acrylic paintings shine again by using in combination with the high-gloss, transparent, vinyl-based Window Color paint. Create glossy effects by applying Window Color to the dried Marabu Acrylic paint! Paint the canvas (or any other material) with Basic Acryl and leave to dry. Then simply apply Window Color fun & fancy directly from the bottle (or with a brush) to certain individual colour areas, leave to dry – done! The areas painted with Window Color will dry to a glossy, textured finish and provide a lively and effective contrast to the velvety matt Basic Acryl paint.Get ready to combine!
The Marabu acrylic accessories programme is ideal for combining with all Marabu paints such as Basic Acryl, Acryl Color, Decormatt and Decorlack! Whether painted over, mixed or accented: The Structure Paste and gels and the Modelling Pastes are waiting to be used in your unique and effective designs!Primary colours for colour theory
For mixing according to colour theory, the acrylic paints Decormatt, Decorlack, Basic Acryl and Acryl Color are available in the basic colours (primary colours) Cyan, Magenta and Yellow. They can be used to mix the compound colours (secondary colours) Orange, Violet and Green. Simply mix two primary colours together.Stencilling made easy.
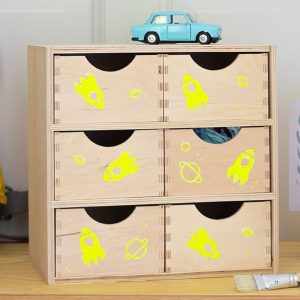
Marabu acrylic paints are ideal for stencilling. Use a little bit of paint on a stippling brush, a sponge or a paint roller to achieve the most beautiful designs!Create individual highlights with the special effect liners Glitter and Metallic!
The Marabu Glitter, 3D and Metallic Liners can be used for adding beautiful embellishments to your designs after drying. Anything that is difficult to achieve with a brush is very easy with a Liner: Fine lines, lettering, ornaments – and all with fascinating precision.What equipment is needed for painting with Marabu Acryl Color?
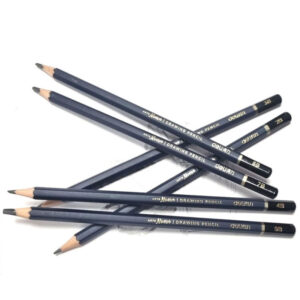
In addition to a selection of colours, all you need to get started is a suitable, light-coloured painting surface (stretcher frame, painting board or cardboard), a white (paper) plate for mixing the colours, a container of water and a selection of high-quality brushes (preferably easy-care synthetic hair brushes such as Marabu Universal or Marabu Decoration & Hobby). There are a variety of brush shapes with round or flat tips, cat’s tongue brushes or fan brushes, and there are also painting knives for spackling and other special tools. For the beginning, a few brushes with round and flat tips in different sizes are sufficient. An easel is also not yet necessary for the beginning. A well-covered table is sufficient. Also a painting apron or old clothes, because acrylic paint can only be washed out of clothes when wet. Stretcher frames are canvases stretched on frames and usually already pre-primed, i.e. painting surfaces for acrylic paints do not need to be specially pre-treated before painting.
Tips for the first steps with Acryl Color:
Depending on your preference, Acryl Color can be used as an opaque ready-to-use paint or, diluted with a little water, as a glazing paint. It can even be applied with a spatula. Painting over or adding to the pictures is possible at any time. To get started, transfer or trace a template onto the painting surface.
For mixing colours, a colour circle provides orientation at the beginning. Acrylic paint dries a little darker – so tend to mix the colours a little lighter and use black sparingly. When changing colours, wash the brush well with water to avoid mixing colours.
When painting, it is a good idea to start with the background and then work your way forward, layer by layer. Smaller mistakes can simply be painted over with the next layer. For a perfect colour gradient, start with a pure light shade and apply it over the entire surface. Gradually add more of the second colour tone to the still wet paint and slowly wipe it into each other to create an even transition to the second colour shade. A large, flat brush or a sponge is very suitable for this technique. For small motifs, use correspondingly smaller brushes and for details it is best to use the smallest brush with a round tip.
Important: After painting, immediately wash out the used tools used thoroughly.